Lay out your first Main Sequence station
Choose the dock output first. Leave one short path from the dock to fuel production, a second area for ore processing, and a clear walk from the dock to the Command module. That gives you somewhere to put the next machine without moving the ones already feeding the station.
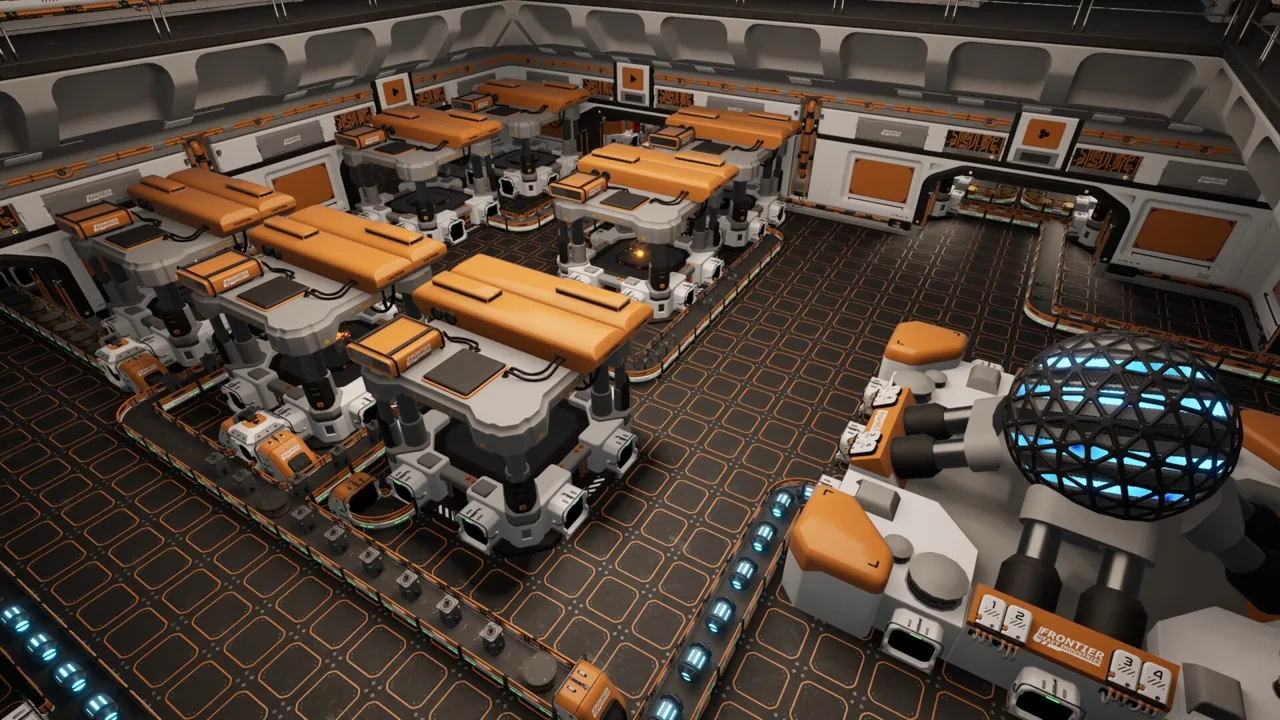
Sketch two lines before placing the machines
Fuel by the dock. Face the Refinery input toward the dock's unloading output and leave a belt path from the refinery output to the Reactor. Filter this dock output for Water Ice. Carry the first batch of Hydrogen Fuel to the reactor yourself. In Surtr Plays' Early Access build, the reactor and refinery had to swap positions to make that short run work. Walk the proposed route from output to input before you place either one. See the dockside layout being corrected.
Parts beside the fuel line. Start with a Refinery making Titanium Plates and a storage box on its output. Leave space for an Assembler to draw plates from that box and make Hull Plates. Put finished storage where you can collect building materials on foot, with a belt path onward to the Science Lab. That way an idle lab leaves you with hull plates you can use for expansion. Watch the plate storage, assembler, and lab take shape.
While the dock is filtering for ice, you can hand-feed titanium to test the parts line. Watch a plate reach storage and a hull plate leave the assembler before assigning a permanent ore input. If material passes the wrong port, trace the conveyor connections. If both lines stall with stock in their inputs, check station power.
Leave a way to build the second row
Stand where the next refinery would go. Can its input belt turn into the port? Can you still walk between the dock, storage, and the station designer? Reserve a strip for belts beside the row and a clear route to the console. A splitter beside the plate buffer gives you a place to branch later for frames or motors. In the launch playthrough, Surtr had to pull up belts to make a turn after placing two rows too close together. Another run used up the walking space. See the spacing problem.
Expand the hull from the designer in the Command module. Try attaching one room on the open side of production, check its material cost, bring the parts from the ship or storage, then apply the design. Walk the new room before filling it. A successful expansion gives you a reachable machine port and somewhere for the next belt to go. Station expansion at the console.
When is a second station worth it?
Keep refining at home while nearby ore is easy to bring in and the dock clears each delivery before the next one arrives. Consider a mining outpost when the useful asteroids are far enough away that your main machines sit idle between hauls. One Early Access player kept mining drones and solar power at the outposts and all refining at home. That made the outposts easier to leave behind as deposits ran down. Players compare central factories and mining outposts.
Test one loaded round trip before duplicating the factory. If the receiving box empties while the ship is away, look at the supply route and how much it delivers. If the dock is still unloading when the next ship arrives, reserve space for another receiving line at home. Those two delays call for different changes.